Monday, November 30, 2009

Home for the Holidays

Putting a Mid-Atlantic Garden to Bed


I have to admit that my extended Thanksgiving celebration created a lock on the lid of my laptop and prevented me from keeping up with reading and writing blogs.  This holiday curse is bound to return every few months...and I'm okay with that!  Yet somehow, amidst the rituals of Turkey dinner and days of delicious leftovers, I found some time to get outdoors and put my family's perennials to bed.  This is not usually my job but to honor my goal of experiential learning, my Mother entrusted her beds to me and I went to work.  The pictures below show the plants before and after being "put to bed"


Aster novi belgii (before and after)

Putting your garden to bed simply means doing all that you can to ensure the plants will survive the winter. The first step is to remove all dead and diseases debris. This includes dead leaves and annuals that need to be removed. Once the debris is removed, you are given a better sense of what shape your perennials are in and where cuts need to be made.


Peony

As the cold sets in, perennials focus their energy on their root systems so they can be cut back with out causing the plant too much stress. Before cutting back your perennials in the fall, determine which plants may be considered "winter interest" and hold off cutting those until the early spring (this category usually includes ornamental grasses and black eyed susans and whatever else is still green and still looks good around the first frost!).


Deciduous Fern

Mulch can be added to your perennial beds but its main purpose in a fall application is to maintain a consistent soil temperature and protect from extreme weather conditions.  Therefore, in the mid-Atlantic region where I was working this week we didn't bother (and I probably wouldn't bother in the Pacific northwest region if I had my own perennials at home).


Coreopsis

In my Mom's garden I cut the aster and the coreopsis down to about two inches above the ground.  I cut the peonies a little higher, mostly for aesthetic reasons.  I gently pulled on the blades of the daylilies to grab all of the soggy and dead pieces and simply pulled out the dead flower stems from the center of the plants.  The deciduous ferns were cut all the way to the ground because they were already rotting.  Once I worked through the beds, I raked most of the leaves away from the plants to avoid smothering the cut stems and to avoid further slug-and-bug-attracting rot.  I recommend using a small plastic rake for this job because a spring rake can easily get caught in the healthy plant and disturb the root system.  The few hours of work I did made for a big improvement on the eyes.  How well I did will be determined next spring (many thanks to my Mom for letting me experiment in her lovely garden!).
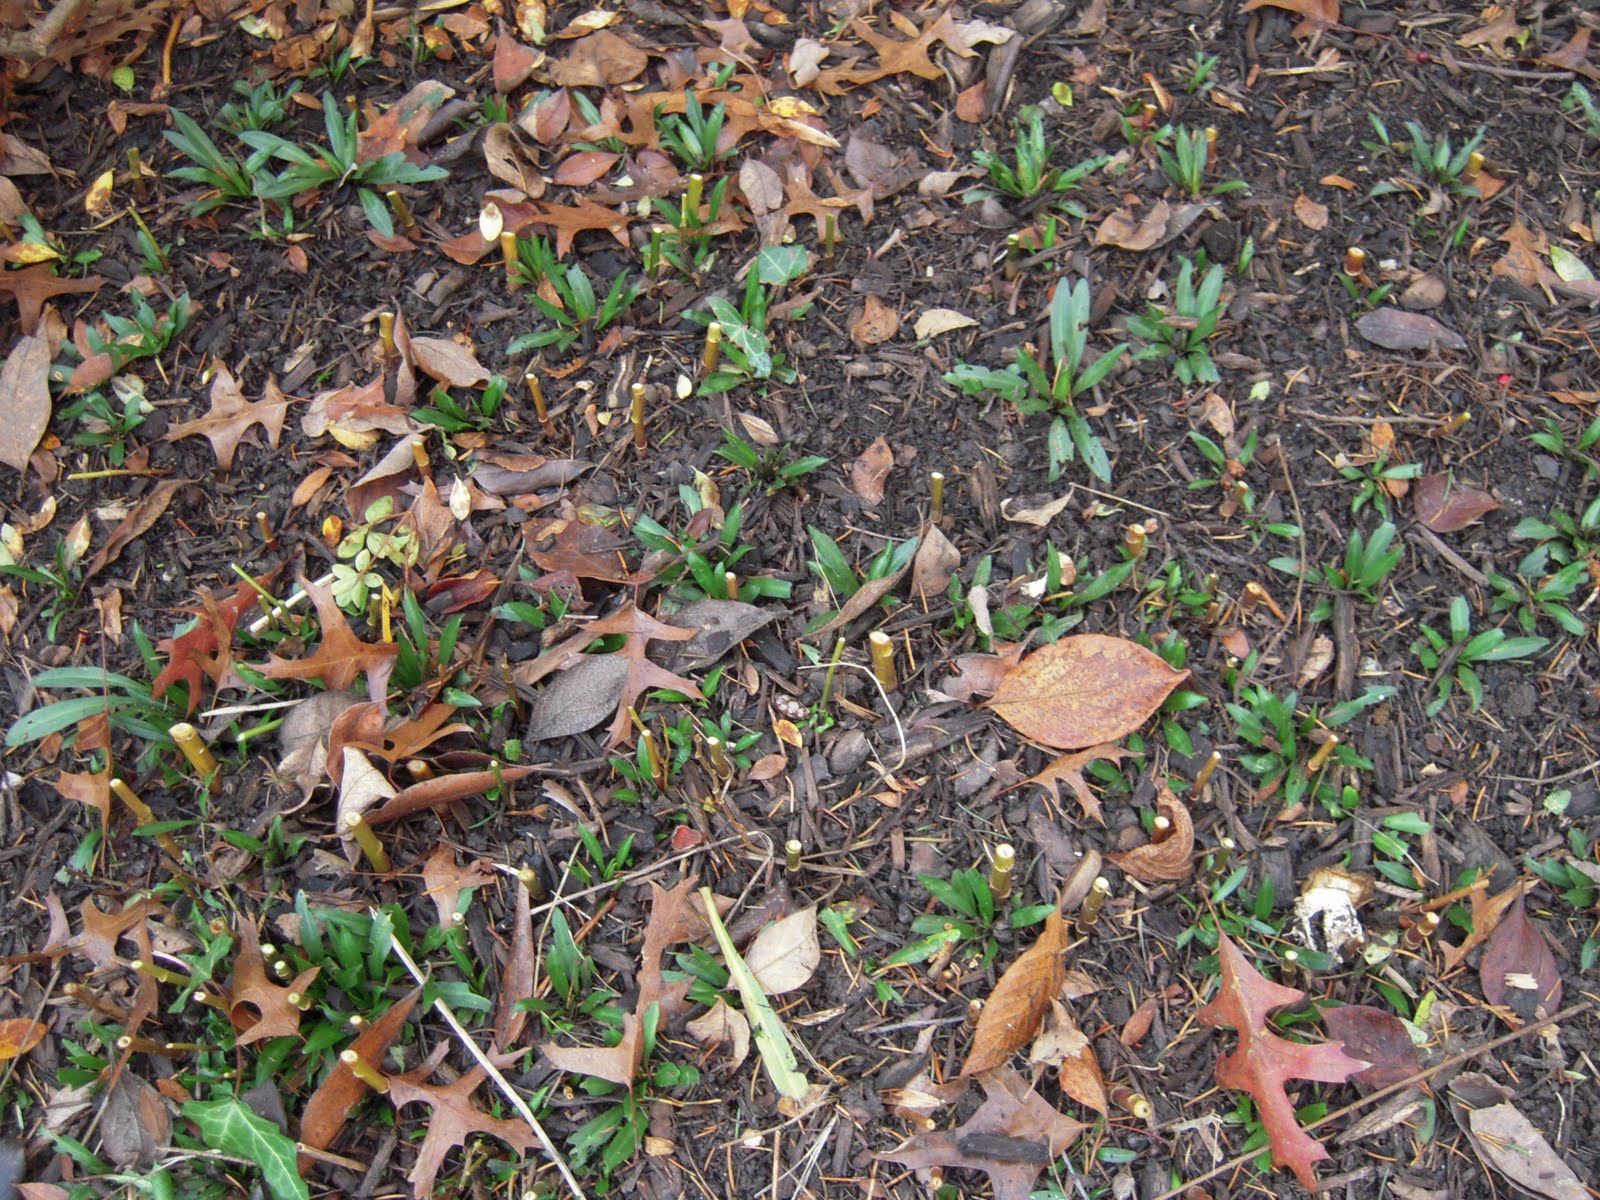


 Daylilies

These beds were in good shape but the fall is a good time to year-end maintenance if it's needed.  Perennials can be rearranged if you want a new look or a better suited spot or they can be divided (which just means splitting the large root system of a plant into two or more pieces and replanting the roots).  Nutrients can be added in the fall as well.  In annual or vegetable beds, all debris and roots will be removed (overwintering veggies excluded) so annual beds can be aerated and covered with nutrients and mulch before being put to rest.  You can also plant a hearty cover crop that will protect the soil and add nutrients over the winter.

...and now on to the winter season...


Thursday, November 12, 2009

Sun vs. Shade

SUN vs. SHADE

Sun Loving Japanese Bloodgrass

We have learned that the sun meter on plant tags help the gardener place plants in the appropriate spot (in Project 2: Making Sense of Plant Tags) but what is it that really distinguishes sun plants from shade plants?

Photosynthesis
All plants need some sunlight to survive (generally along with water, soil, and insects for prosperity).  Energy from the sun is absorbed and held in the leaves by their green pigment (chlorophyll).  This energy is then used to convert carbon dioxide (and water) into food for the plant.  Oxygen is then released from the plant as the final step in the photosynthesis process.  whew!
For a more in depth look at plant biology, check out Kingsly R. Stern's Introductory Plant Biology.  It's a textbook but a nice read nonetheless!

Shade Loving Hosta

Sun Loving, Shade Loving, and Somewhere In Between 
Sun loving plants are those that can handle full sun in their photosynthesis process.  Their leaves are often thicker and smaller than shade loving plants and the cellular makeup is different.  They are built to make the most of their frequent exposure to the sun.  Shade loving plants, alternately are often thin and large.  This allows them to gain maximum exposure to the sun when it hits them.  They also tend to have more chlorophyll for the same reason.  If a shade loving plant is placed in direct sun it will likely burn because it is designed to be more sensitive.  Plants may be hardwired specifically for full sun, partial shade and full shade but some (like trees) have leaves that are built to survive in all three.  The differences between a sun and shade loving leaf can also be seen in one plant when the higher leaves (sun loving) cover lower leaves (which in turn become shade loving).  you still with me?


Sun Loving Yard/Shade Loving Yard
A quick walk around the neighborhood can give you a good sense of which plants love sun and which love shade.  It's even easier in a city where urban planners have planned the streets on grid that is lined up with the points on a compass.  In this case, simply walk east-west and look to your left and right--you should immediately see the sunny plants on the southern side and the darker shade plants on the northern side.
It is a good idea to have a solid understanding of the sun exposure in your garden before planning your plot. You can either check it every hour of the day (1 time per season) and sketch a sun map of your plot or to save some time and trouble, seek the help of landscape architecture firms which often have data such as this for building purposes.

Once that's settled, there are many books and website devoted to helping gardeners find the right plant for the right spot.


Monday, November 9, 2009

Project 2 Making Sense of Plant Tags

Project 2: Making Sense of Plant Tags


Plant tags can give gardeners invaluable information.  The climate, sun and space requirements are essential to make sure a certain plant will survive in your garden. Understanding the name (distinguishing one plant from another) and flowering information help the gardener plan for a yard aesthetic.  For this project I will use the one plant that seems to survive in my dark basement apartment: Morris "Moishe" the houseplant.

Tag from Burnaby Lake Greenhouse Ltd.
Details:
Common Name: Dracaena
Scientific Name: Dracaena species
Sun Meter: Sun to partial shade
Temperature: 64˚-75˚
Watering Instructions

Breakdown:
The common name is printed first in large letters.  A plant's common name tends to vary from country to country and one plant can have several common names.  This is why the scientific or botanical name is so important.
The scientific name is made of up the plant's genus (capitalized) and species (lowercase), both in italics.  The genus is the name of a group of plants that have similar characteristics.  The species is a subdivision of the genus and in turn, the species may be further defined by the variety, subspecies or form of the plant, if applicable.  If the species is a hybrid then it will be preceded by an x.  To indicate a specific cultivar, the name will be printed in single quotations after the genus and species.
The sun meter shows us what level of sunshine the plant can handle (more to come on this!). 
The temperature shows the hardiness of the plant.  In Hardiness Zone terms, the dracaena would technically be in zone 11 (anything above a low of 40˚) but it is really a tropical or indoor plant.
The watering instructions simple remind the houseplant owner not to overwater; this plant likes to dry out.

Most outdoor plants will have the information above as well as an indication of the natural height and width of the plant.  It is important to think about your garden and yard several years down the road when installing plants--don't overcrowd the plants and force them to compete!

The American Horticultural Society Encyclopedia of Plants and Flowers and Stearn’s Dictionary of Plant Names for Gardeners by William T. Stearn are both great resources for plant classification and names.

Sunday, November 8, 2009

Native Plants and Climate Zones

NATIVE PLANTS


The installation of native plants is on the rise in the organic gardening world.  As the name states, here in the US, native plants are those which have originated in North America and which have evolved to excel in a specific region.  They are easier on the environment because they need no extra water than the rain fall that occurs naturally in their region.  Also, they have evolved to a resistance to pests and need little or no fertilizer when planted in the appropriate spot.  They are called "low-maintenance" plants for all of these reasons and lists of your native plants can easily found online (I like http://www.plantnative.org/). 

Beyond strictly native plants, it is possible to incorporate plants from similar climate zones in order to expand your plant list.

CLIMATE ZONES


The climate hardiness zone map is great place to start when you want to make sure a certain plant will make it through your winter since every plant is labled with its appropriate zones.  This map doesn't account for rain or snowfall or for high heat hardiness but these factors can be found online as well (check out http://www.noaa.gov/ and http://www.ahs.org/ for more information).  Once you establish what climate zone you are in, it's time to pick out your plants, which leads us to Project #2: Making Sense of Plant Tags.

Tuesday, November 3, 2009

Project 1 Curriculum

Garden Education


As they come up, I will try to add some curriculum ideas.  Generally, they will be activities that I have not yet tried in the classroom but they act as a place to start--a collection of ideas that will hopefully be useful in the future because this field is so important in a modern curriculum.  A garden education can teach students how to take in more from their surroundings in order to understand the significance of the food they eat, the trees and plants they walk past, the water they drink, the air they breathe and the trash they throw away.  Here are a two ways to bring Project 1 into the classroom:

1. Native Plant Exploration

Teacher: Bring in 5-7 samples of plants that are native to your area (even better if they are from your school yard or neighborhood)
Students: In groups, look up one of the plant samples in research books or on pre-approved websites and create a poster or presentation and share with the class.
Information given on the poster would vary from one age group to the next but would likely include the plant name, the type of plant (shrub, tree, flower), pictures or drawings of the plant through different seasons and through different stages of life (seeds, new growth, how tall and wide it is meant to get).  Put the posters up for display and come back to the project whenever the season changes!


2. Garden Timeline

It would be ideal if every school had a garden.  The garden could provide food for the students and act as an almost year-round teaching tool (depending on your region).  Unfortunately, most schools do not have gardens but there are ways we can work around this.  As students are learning about vegetables and planting seasons, a calendar or timeline could be created by the students (maybe placed as a boarder around the walls of the classroom) to which items may be affixed.  Either actual seeds or drawings or pictures cut from magazines could be attached to mark the month or season when a specific plant must be sown.  Then, farther down on the timeline, at the common harvest time for your school's region, another picture or drawing can be attached to show which plants are harvested when.  To further emphasize the timeline for each plant, colorful string could link the seed sowing date to the harvest date.  This project creates a sense of the time and effort that growing veggies will take and allows for an ongoing (and colorful) classroom project that can be added to as time permits or as relative units come up.

You could also congruently display your classroom garden on a three by three foot square to gain a better image of a garden space, if space and time permits.  On this square, only the seeds and pictures of plants that are to be sown or harvested that month will be visible, thus the pictures are portraying what the students would see in a garden bed outside.  Keep in mind that in order to cover the entire growing season in one school year, the growing months will have to be condensed!

The timeline and garden square provide a visual record of the seasonal impact on ecology and agriculture.  They show students where their food comes from and how the life cycle of each plant is structured and played out.